Specivo user guide
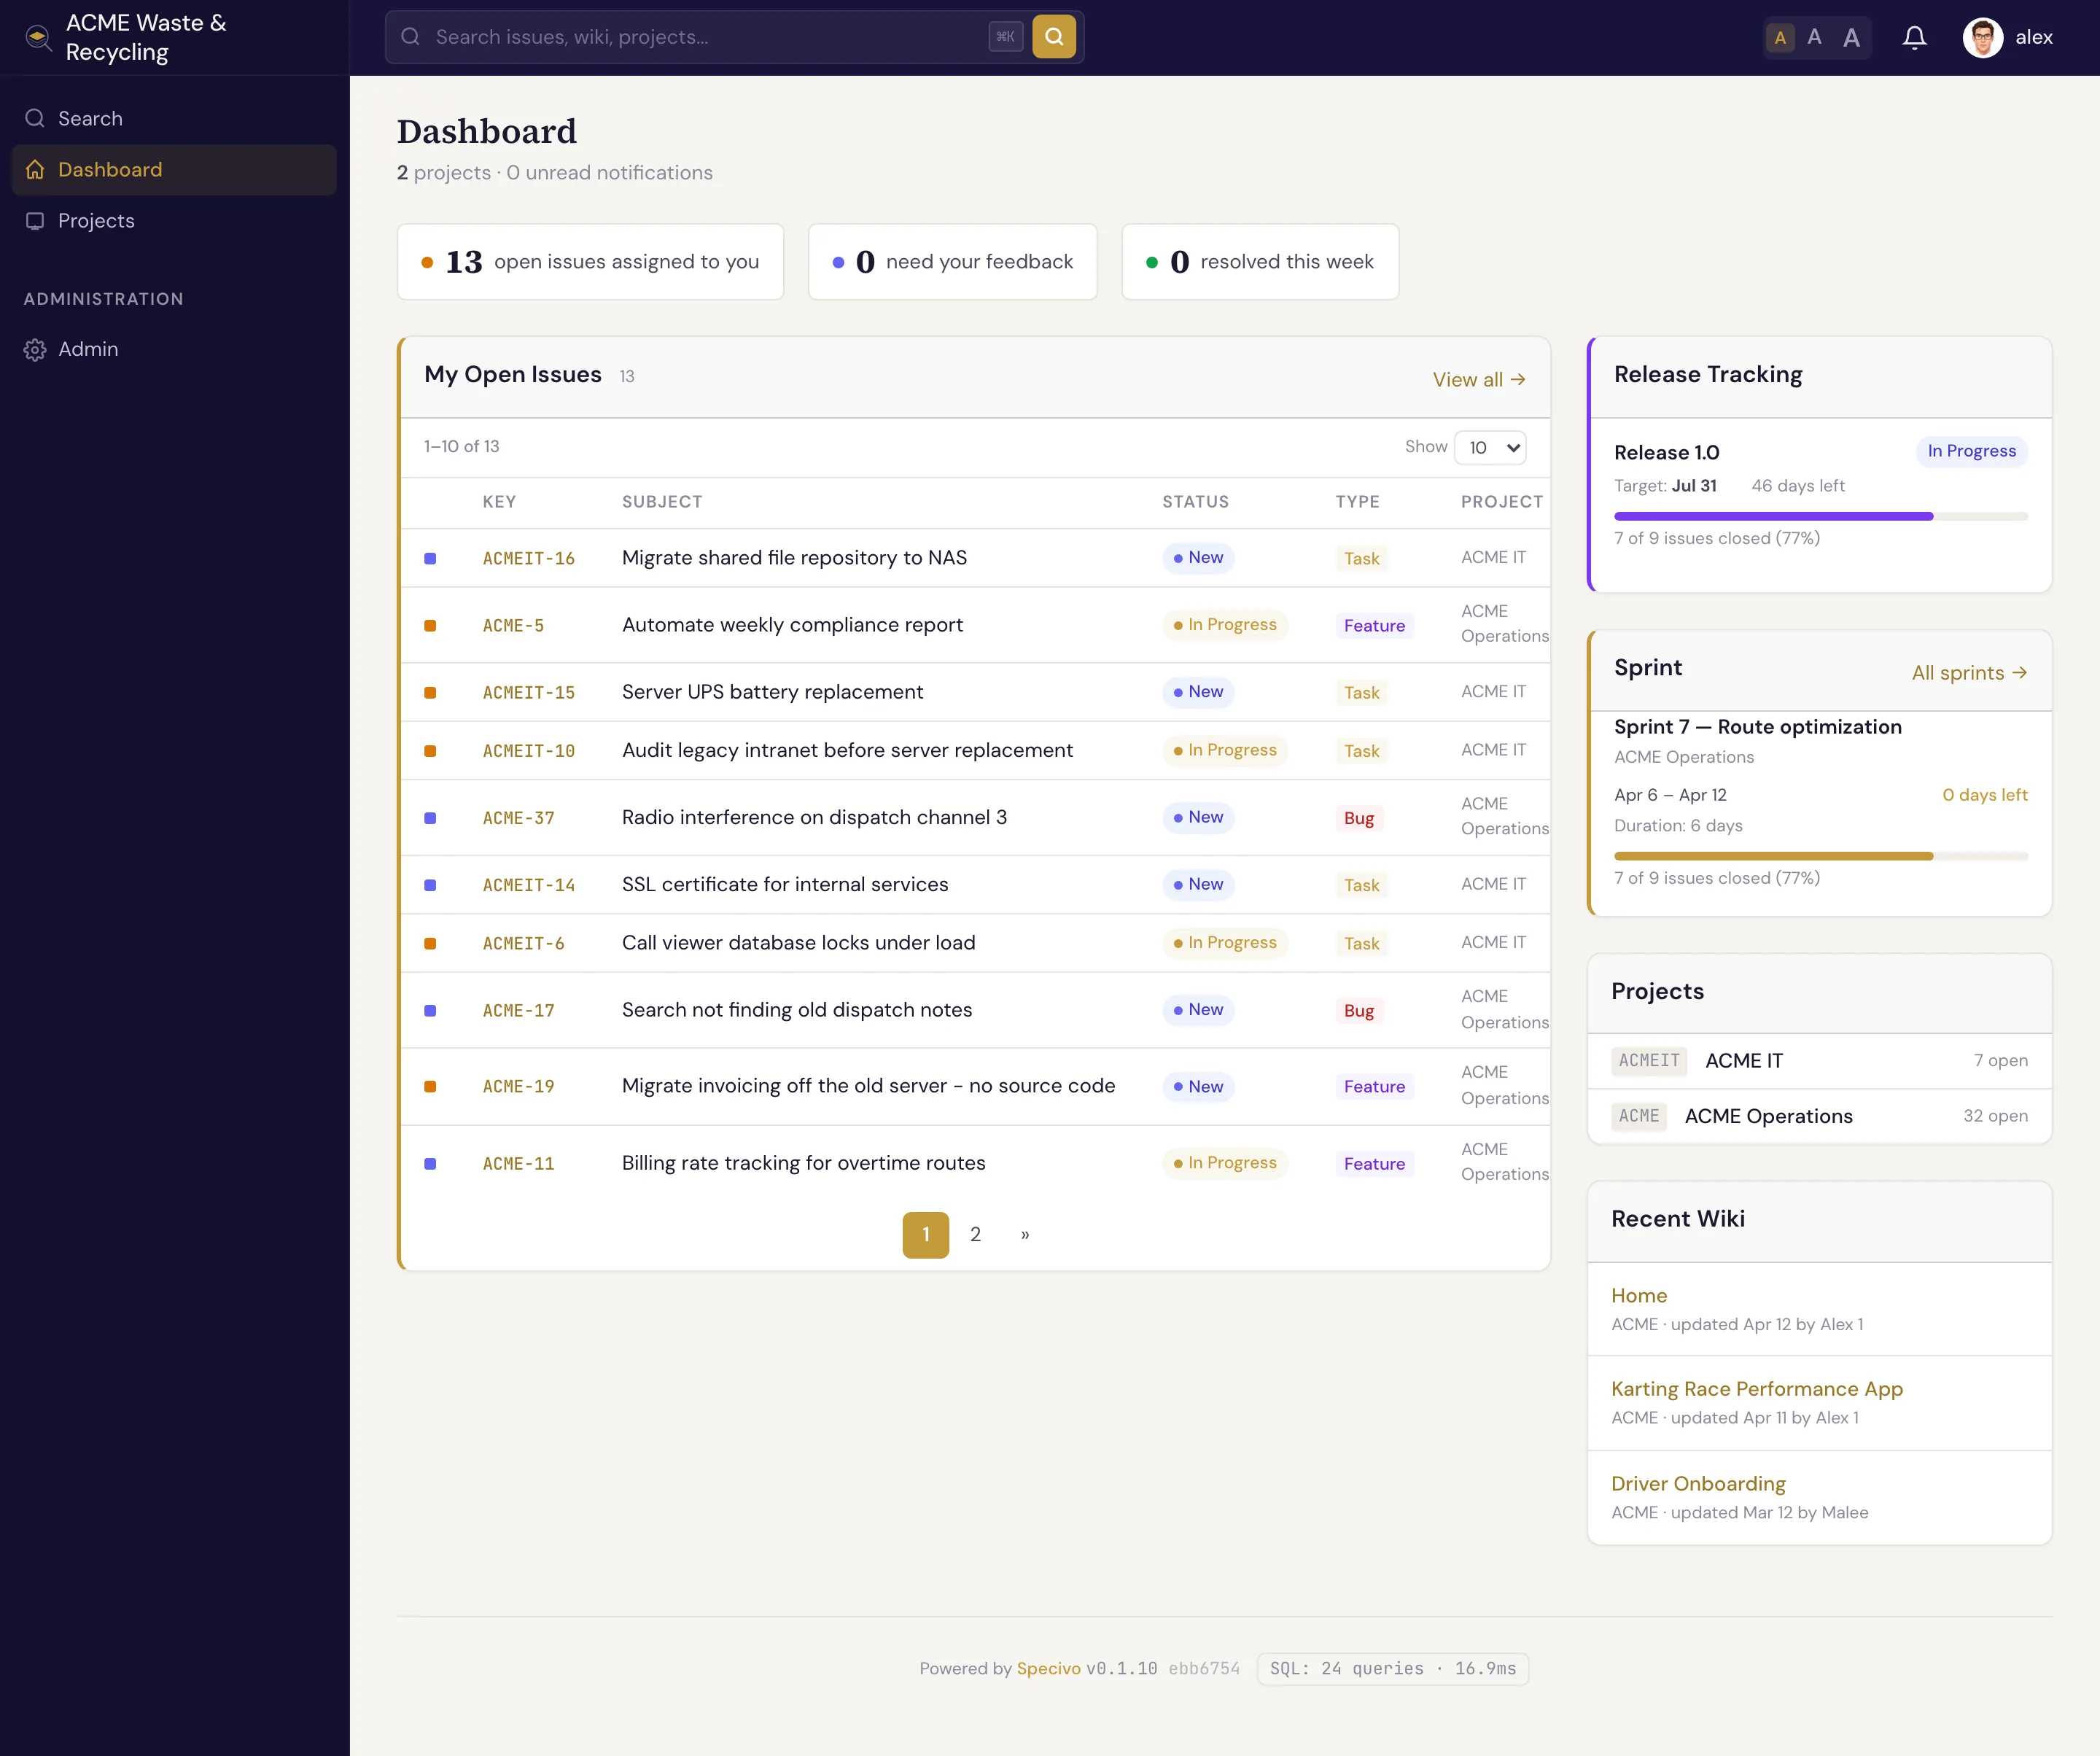
Specivo is a self-hosted platform that keeps your team's work and knowledge in one place: a project tracker, a wiki, and an integration layer that lets AI agents work inside the tracker instead of around it. You run it on your own server, you own the data, and there is no per-seat pricing.
This guide is for the people who use Specivo every day — creating and tracking issues, writing wiki pages, and connecting AI assistants. If you want to install and operate Specivo, jump to Installing Specivo.
Three things Specivo does
- Track work. Issues with types, statuses, priorities, assignees, subtasks, and relations between them. Group work into projects, versions, and sprints.
- Keep knowledge. A per-project wiki with Markdown, full version history, and one-click revert. Cross-link pages and issues so decisions never get lost.
- Work with AI agents. A built-in MCP server lets AI assistants read and update issues, wiki pages, and search — safely, with every action recorded in an audit log.
New here?
If this is your first time in Specivo, start with Your first 10 minutes — it walks you through signing in, finding your project, opening an issue, and leaving a comment. Then read Core concepts to learn the handful of words (issue, tracker, version, sprint, wiki) that the rest of this guide uses.
Find your way around
| If you want to… | Read |
|---|---|
| Understand what an issue is and create one | Issues → Creating an issue |
| Link issues that block, duplicate, or relate to each other | Relations |
| Add structured fields like story points or git branches | Issue metadata |
| Plan releases and sprints | Versions & roadmap, Sprints |
| Schedule issues to recur automatically | Recurring tasks |
| Write and organize documentation | Wiki & knowledge base |
| Connect Claude Code, Codex, or another AI client | AI agents & MCP |
| Install or self-host Specivo | Installing Specivo |
Search is built in
Press ⌘K (Ctrl+K) anywhere in Specivo to search. It uses hybrid search — exact keywords and meaning — so it finds work even when you wrote "login flow" once and "auth sequence" later. See Finding issues.